Getting Started with NECTO Studio
Welcome to the NECTO Studio installation guide! This page walks you through downloading and installing the IDE on your operating system.
✅ System Requirements
Before installing, ensure your system meets the following minimum requirements:
| Requirement | Recommended Specification |
|---|---|
| Operating System | Windows 10+ (64-bit), macOS 11+, Linux (Ubuntu 20.04+ or similar) |
| Memory (RAM) | 8 GB or more |
| Disk Space | At least 31 GB of free space (SSD preferred) |
| Display Resolution | 1920 × 1080 or higher |
| Internet Connection | Required for activation, updates, packages |
| USB Port | USB 3.0 recommended for debugger hardware |
📥 Download NECTO Studio
- Go to the official NECTO Studio page.
- Navigate to the Downloads section.
- Select the installer for your operating system:
- Windows:
.exe - macOS:
.dmg - Linux:
.AppImageor.sh(usechmod +xif needed) - Click the download link to begin.
🧰 Install NECTO Studio
- Locate the downloaded installer.
- Double-click to run it.
-
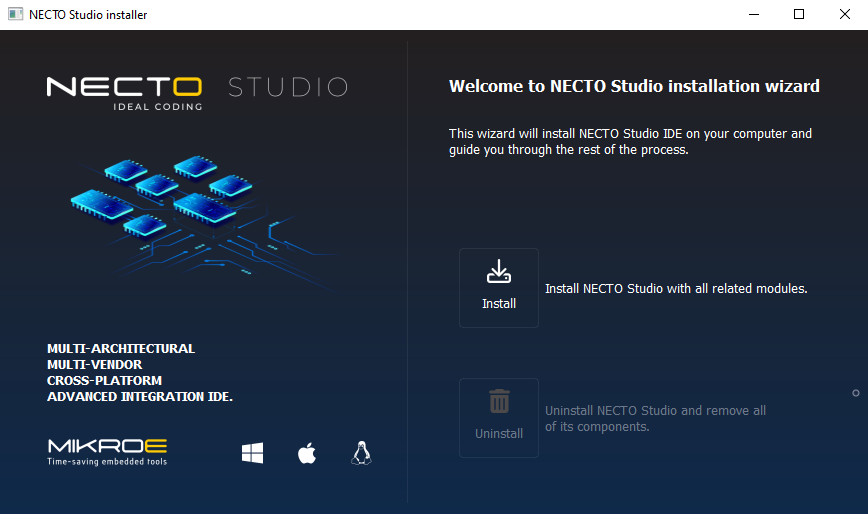
Follow the installation wizard:
- Choose Install or Uninstall
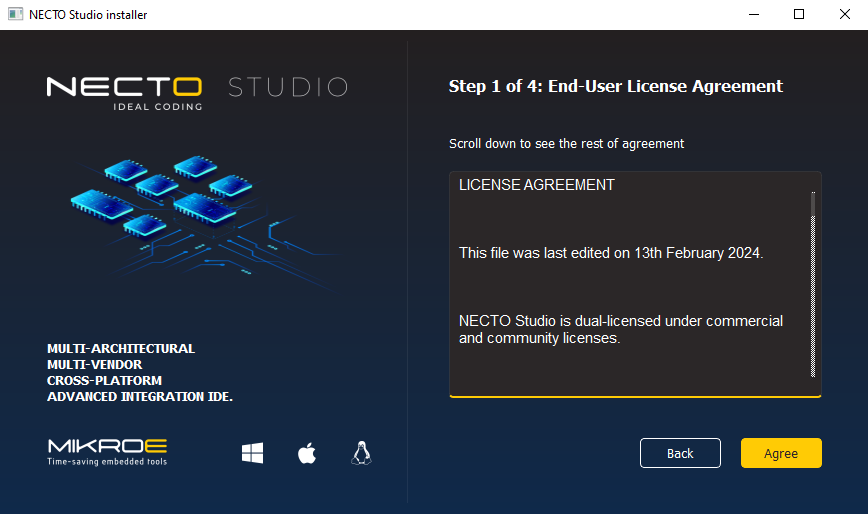
- Accept the License Agreement
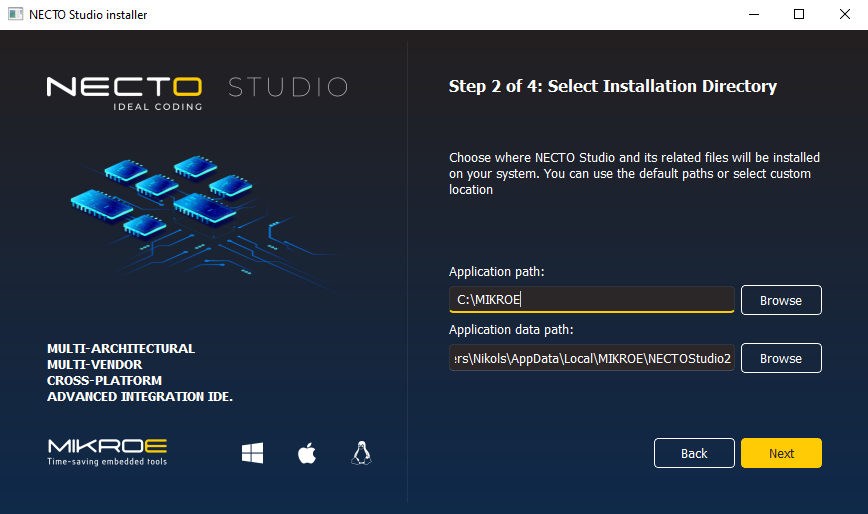
- Select Installation Directory and Metadata Storage Location
- Choose Install or Uninstall
-
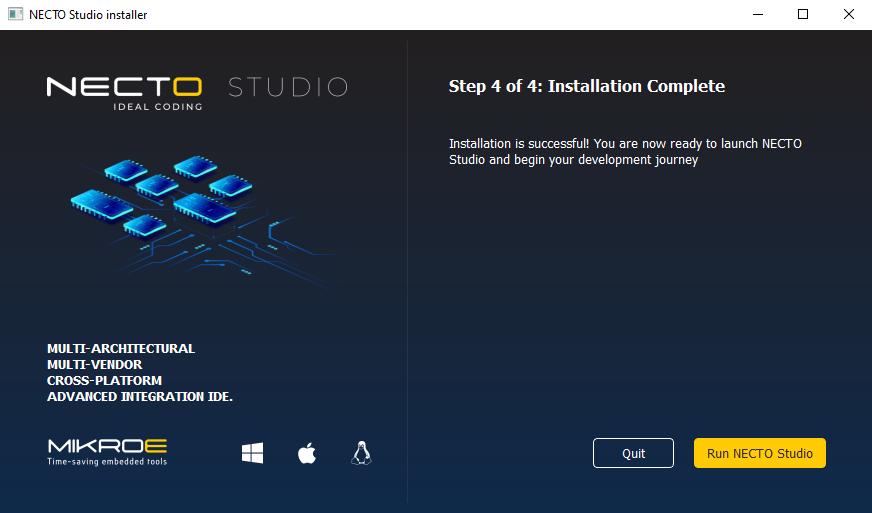
Run NECTO Studio: After successful installation of NECTO Studio, run it!.
🚀 What’s Next?
After installing NECTO Studio, follow these next steps to fully configure your environment:
-
🔑 Licensing & Activation
Learn how to activate your license to use NECTO Studio IDE. -
🔄 Updating NECTO Studio Keep NECTO Studio, your compilers, and Click board libraries up to date.
Need help? Contact our support team at mikroe.com/contact.